A few weeks ago, I stopped by Michaels to get a paint pen for another project, and while I was feeling crafty, I spontaneously put together a little project with a few things I found in the store. That store gets me every time! Anyway, I wanted to share my process for putting it together – in mostly photo form. Let me know if you have any questions!
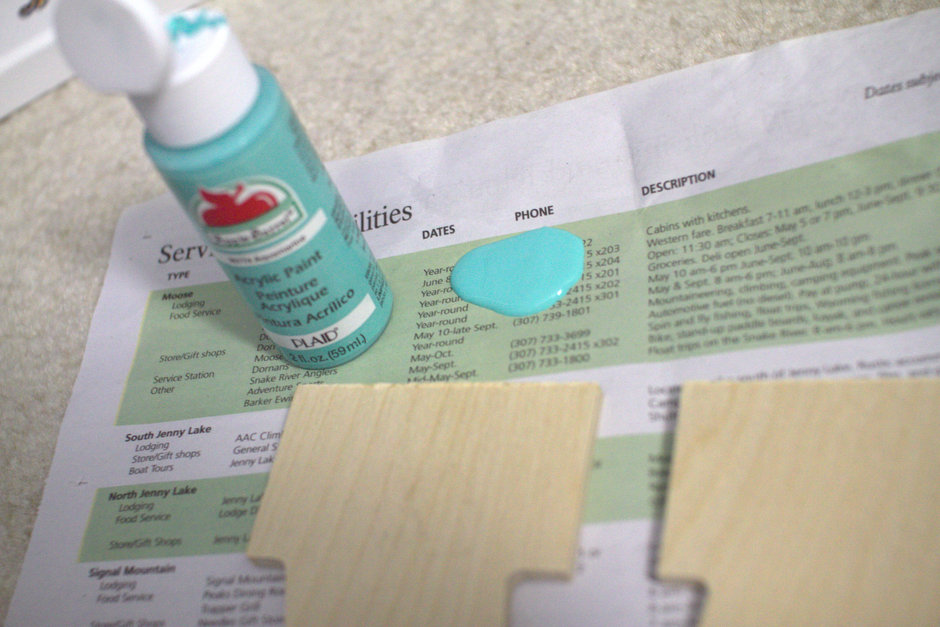
(1) Start with a blank wooden letter. I chose V for Victoria of course.

(2) Choose your favorite color of paint. I have a whole box of colors, and decided this teal one was my favorite.
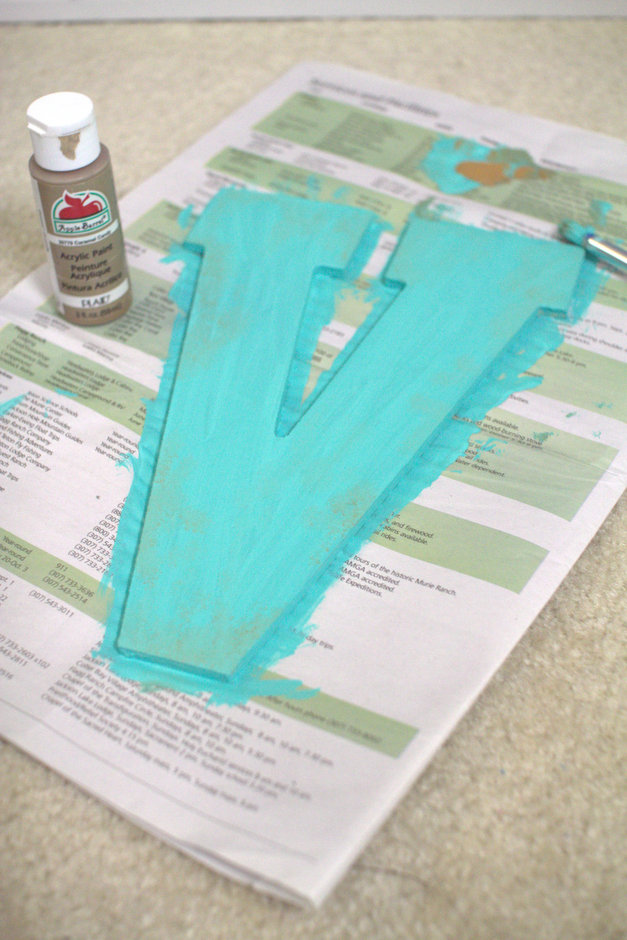
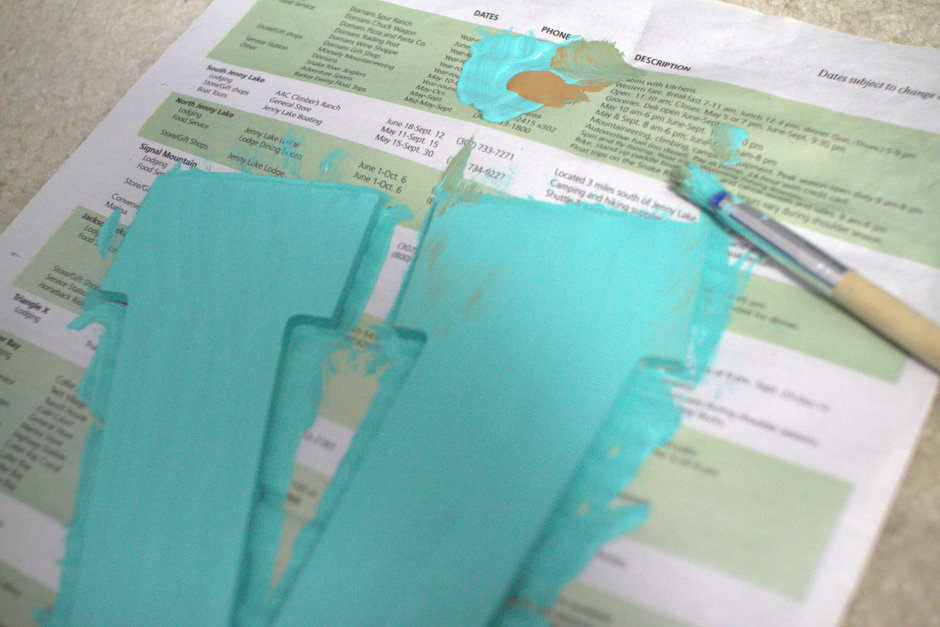
(3) Paint!

(4) You can mix in another color if you’d like. I added a hint of this light brown, but didn’t go overboard on it.
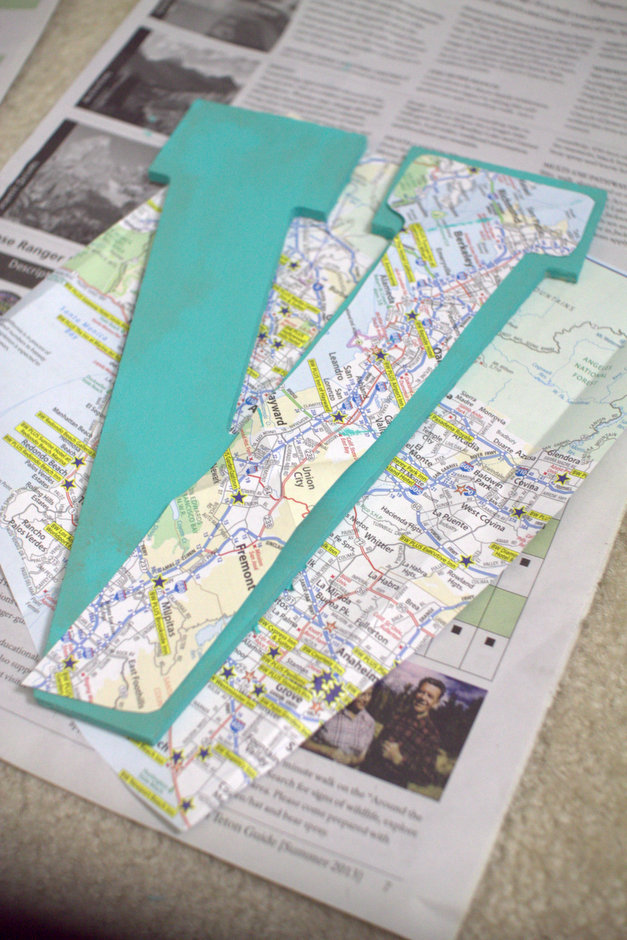
(5) Think of some locations that represent your life and find maps! I collect maps and had a ton of extras I didn’t mind cutting. Cut it in a relatively similar shape to the letter. For a map I couldn’t find an extra for (Brighton), I just printed out a color map from online.


(6) Lettering! Use some nice pens and highlight the names of the cities/countries.
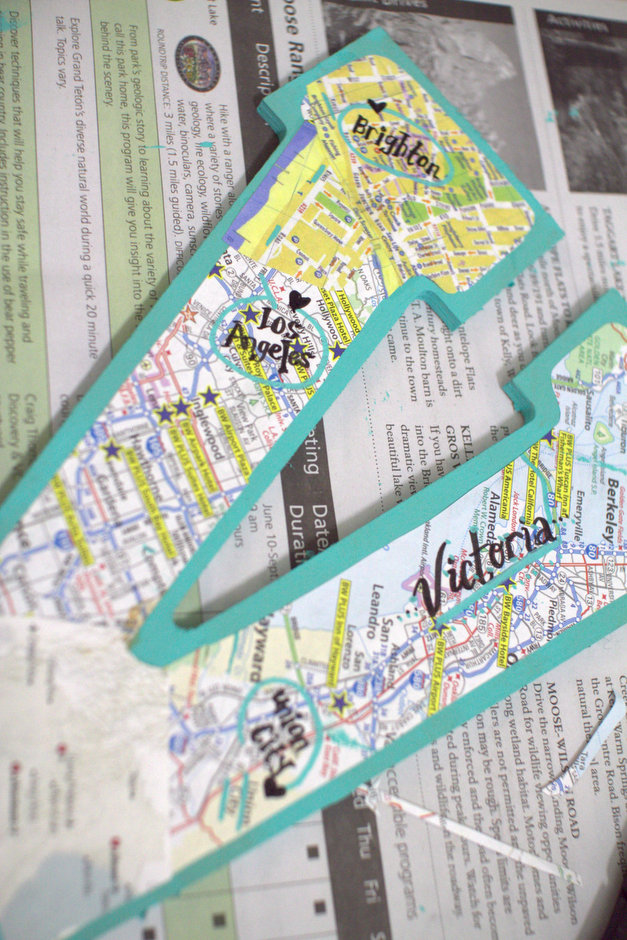
(7) Mod Podge! This is a waterbase sealer, glue, and finish all-in-one. Use a brush to stick the maps on to the wooden piece AND then put a layer on top of everything, covering the entire letter. At this point, it’s better to put the wooden letter on plastic so the Mod Podge doesn’t cause it to stick to the newpaper (I learned this the hard way…). Once you do one layer, wait 15 minutes, then do another layer. I think I ended up with about 6 layers. Leaves it a shiny, glossy look.


(8) Ta da! All done! I chose 3 cities I’ve lived in – Brighton, UK, Union City & Los Angeles, CA, and my family background – Vietnam.

Thanks for reading. Have a lovely day!
-Victoria


This is a pretty awesome project Victoria, it’ll be a nice gift for people you love!